Ceiling Water Damage Repair
Drying and repair for water-stained, sagging, or leaking ceilings, usually tied to a roof leak or a plumbing failure on the floor above.
What ceiling water damage repair actually involves
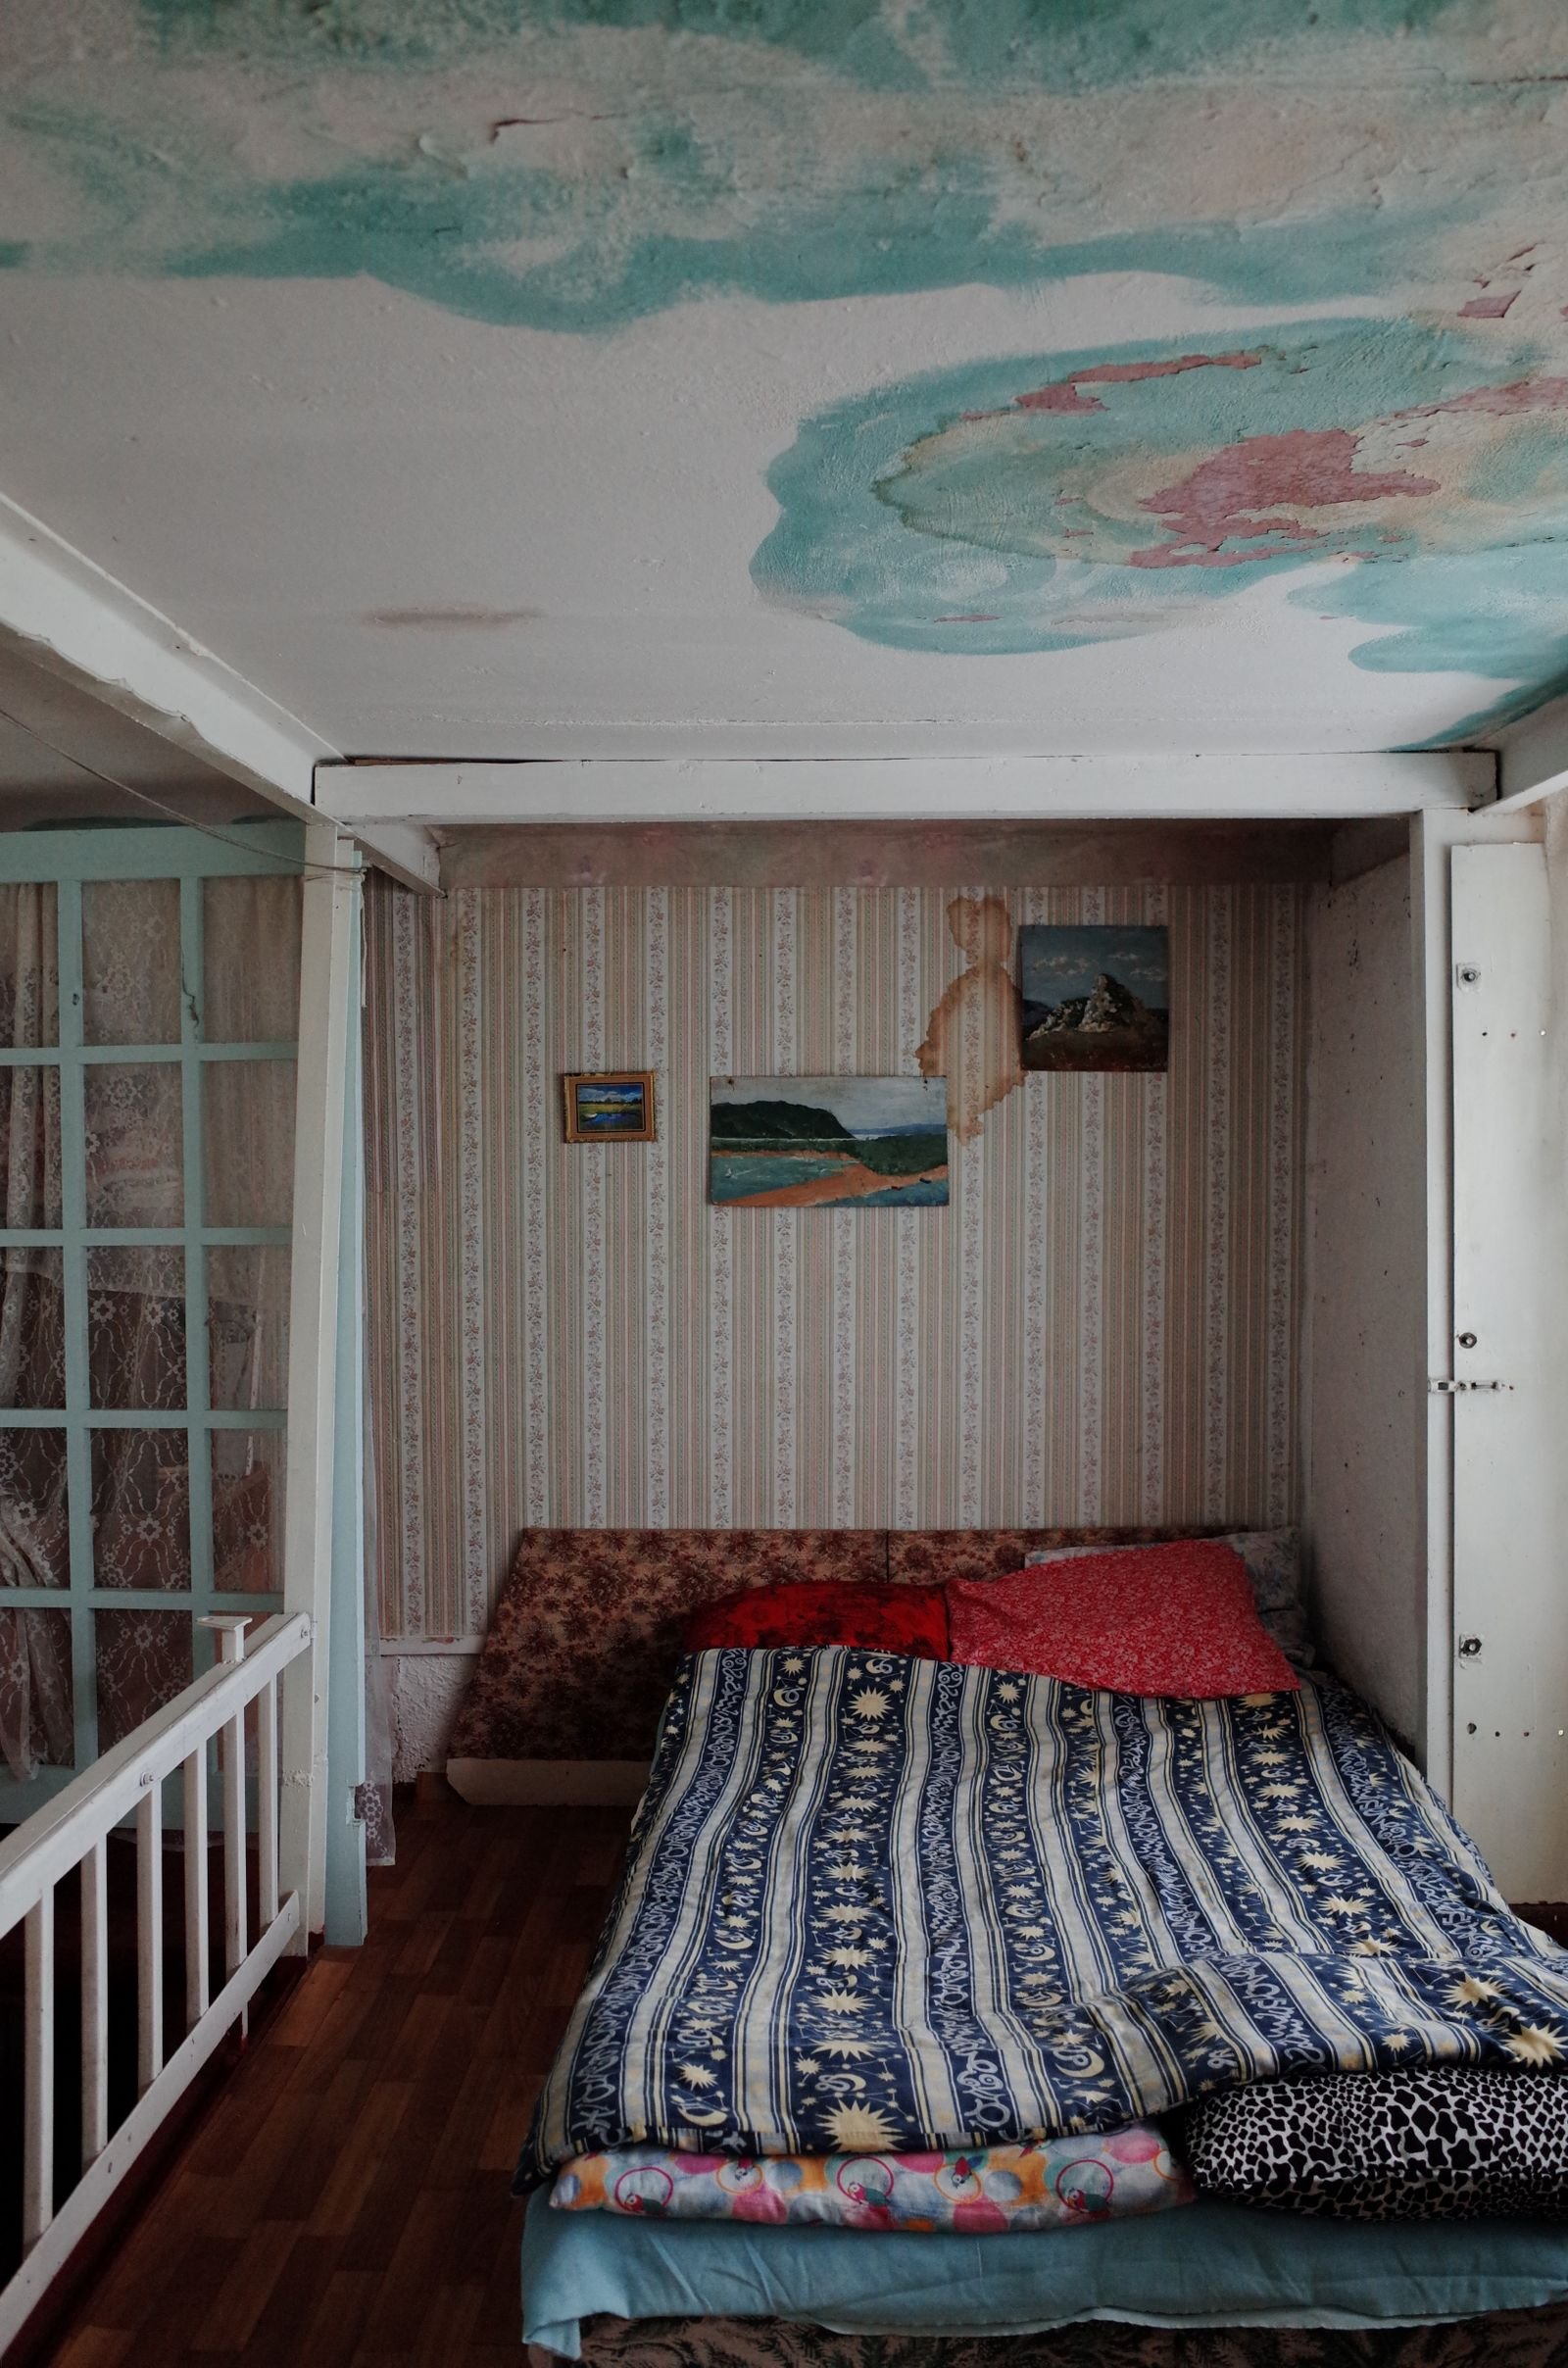
A water-damaged ceiling is almost always a symptom of something happening above it — a roof leak, an upstairs bathroom, or an attic plumbing line — rather than a problem that starts at the ceiling itself. That makes ceiling water damage repair a two-part job: drying and repairing the ceiling material, and making sure the actual source above it has been identified and addressed.
Ceilings are also one of the more urgent water damage situations, since gravity does the work of spreading the problem for you. Water that enters above a ceiling travels along framing and insulation until it finds a low point, then saturates the drywall or plaster from behind — which means the stain or sag you can see is usually smaller than the area that's actually wet.
Left alone, a sagging ceiling isn't just cosmetic — saturated drywall loses structural integrity and can fail without much warning, which is why we treat visible ceiling sag as an active hazard, not a wait-and-see situation.
What this service actually covers
- Identification and documentation of the source above the ceiling
- Moisture readings across the ceiling cavity, not just the visible stain
- A safety evaluation of sag or structural risk before anyone works underneath
- Drying of the ceiling cavity and any affected insulation
- Drywall patching, texture matching, and repaint prep once dry
- Coordination with a roofer or plumber for the actual source repair
A contained ceiling repair often wraps up in a few days once the source is fixed and the cavity tests fully dry.
What usually leads to this
Roof leaks
Damaged flashing, aging shingles, or a compromised roof penetration lets water in during Sacramento County's wet season, and it travels along the roof deck before showing up on a ceiling below.
Upstairs bathroom or kitchen leaks
A failed wax ring under a toilet, a leaking shower pan, or a slow supply line leak on an upper floor often shows up first as a stain on the ceiling below, not where the actual leak is.
HVAC condensate line issues
A clogged or disconnected condensate line from an attic-mounted air handler can drip steadily onto ceiling insulation and drywall for weeks before it's noticed.
Attic plumbing failures
Supply or drain lines routed through an attic are more exposed to temperature swings and are harder to spot a slow leak in, since nobody's up there regularly.
Skylight and vent seal failures
The seals around skylights and roof vents are common failure points, especially as they age past the manufacturer's expected lifespan.
What to look for
A spreading or darkening stain
A stain that's growing or darkening, rather than staying the same size, means the source above it is still active.
Sagging or bulging drywall
A visible sag or bulge means the drywall has already absorbed as much water as it can hold and has lost structural integrity — treat this as an active hazard.
Bubbling paint or texture
Paint or textured ceiling coating bubbling away from the surface is trapped moisture pushing outward from behind.
A musty smell in the room below
Odor without a visible stain often means the leak is still contained within the ceiling cavity, above the drywall.
Dripping or active water
Any active dripping from a ceiling is an emergency — cut power to any nearby fixture if it's safe to do so and get the area cleared until it's assessed.
What happens if this doesn't get addressed
Ceiling collapse
Saturated drywall can fail suddenly, without much warning beyond visible sag — this is a real safety risk, not just a repair inconvenience.
Insulation saturation
Wet insulation loses most of its effectiveness and stays damp far longer than drywall, making it a common source of ongoing mold risk even after the ceiling looks dry.
Electrical hazards from light fixtures
Water pooling around a ceiling-mounted light fixture or fan is a genuine shock and fire risk until the circuit has been checked.
Mold in the ceiling cavity
The space between a ceiling and the floor above is dark, often poorly ventilated, and exactly the kind of hidden space mold can establish in undetected.
Recurring damage if the source isn't fixed
Repairing a ceiling without addressing the roof or plumbing issue above it just means paying for the same repair again after the next rain or the next shower.
Ceiling repair follows the same inspection-to-drying sequence as any water event, with extra attention to identifying and confirming the source above the ceiling before any drywall repair begins.
From the first call to a verified-dry home
This is the same nine-step sequence on every job, whether it's one bathroom or an entire floor — the scope changes, the process doesn't.
Inspection
We assess the source, the scope, and the water category before touching anything.
Moisture detection
Meters and thermal imaging map exactly where water has traveled, including inside walls and under floors.
Water extraction
Truck-mounted and portable extraction equipment pulls standing water fast.
Structural drying
Air movers and drying equipment target framing, subfloor, and drywall directly.
Dehumidification
Commercial dehumidifiers pull moisture out of the air so materials can actually release it.
Cleaning
Affected surfaces and belongings are cleaned as part of the drying process, not left for last.
Sanitizing
Antimicrobial treatment where the water category calls for it, to get ahead of mold and bacteria.
Repairs
Drywall, flooring, and trim replacement is coordinated once everything underneath is verified dry.
Final inspection
Moisture readings confirm the structure is back to a normal, stable level before we call it done.
Serving the greater Elk Grove & Sacramento area
Other Services
These often come up together with this job — no reason to juggle separate calls.
Water Damage Restoration
The full response — inspection, extraction, drying, and repair coordination — for any water event in a Sacramento County home or business.
See what's involved →
Emergency Water Removal
Fast, round-the-clock response to pull standing water out of your home before it spreads further or soaks into structural material.
See what's involved →
Burst Pipe Cleanup
Extraction, drying, and cleanup after a supply line or pipe failure — coordinated with your plumber, not in place of one.
See what's involved →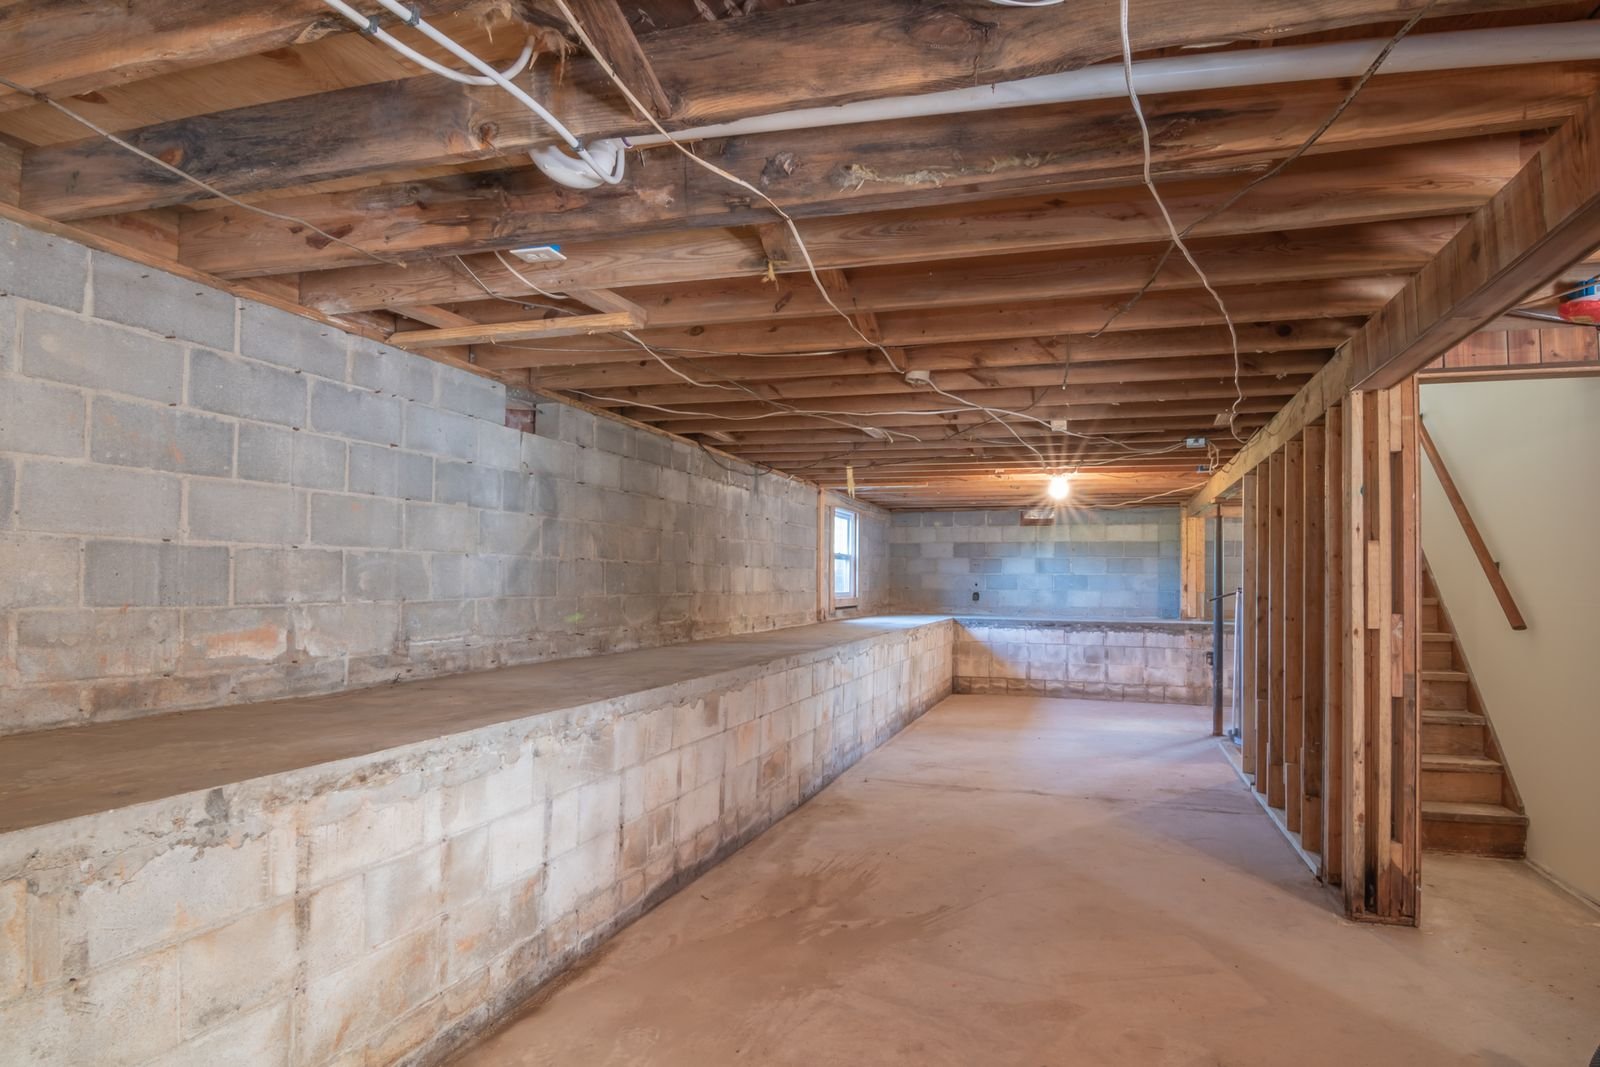
Basement Flood Cleanup
Extraction and structural drying for flooded basements, crawl spaces, and below-grade rooms — the areas most prone to trapped, lingering moisture.
See what's involved →
Flood Damage Cleanup
Cleanup and structural drying after larger-scale flooding from storms, overland water, or failed drainage — often multiple rooms or an entire floor at once.
See what's involved →
Drywall Water Damage
Assessment, drying, and replacement of drywall that's been saturated, softened, or is already showing mold — with a clear read on what can be saved.
See what's involved →
Storm Damage Restoration
Water damage cleanup after wind-driven rain, roof intrusion, or flooding tied to a Sacramento County storm event.
See what's involved →
Structural Drying
Monitored, equipment-driven drying of framing, subfloor, insulation, and other structural material after any water event.
See what's involved →
Water Extraction
High-volume removal of standing water using truck-mounted and portable extraction equipment — the technical first step in any water damage response.
See what's involved →
Moisture Detection
Meter and thermal-imaging inspection to find hidden moisture behind walls, under flooring, and inside cavities — before it becomes a visible problem.
See what's involved →
Dehumidification Services
Commercial-grade dehumidification to pull residual moisture out of the air and structural material after extraction — the step that actually finishes the drying job.
See what's involved →
Mold Prevention After Water Damage
Antimicrobial treatment and monitored drying aimed at stopping mold before it has a chance to establish — the difference between a drying job and a remediation job.
See what's involved →
Commercial Water Damage Restoration
Fast-response extraction and drying for offices, retail spaces, and multi-unit properties, with a real focus on minimizing downtime.
See what's involved →
Residential Water Damage Restoration
The full extraction-to-repair process, scoped specifically for single-family homes and residential properties across Sacramento County.
See what's involved →Questions About Ceiling Water Damage Repair
Yes — saturated drywall can fail and collapse with little warning. Keep the area below clear and treat it as an active hazard until it's been assessed.
We'll identify what we can see and document it, and coordinate with a roofer or plumber when the source is outside the water damage scope, since repairing the ceiling without fixing the source just leads to a repeat.
Sometimes — a contained stain with no sag or softness can often be dried, sealed with a stain-blocking primer, and repainted. Sagging or soft drywall usually needs to be replaced.
Air movers and dehumidification can dry a ceiling cavity through existing openings in some cases; more extensive or long-standing leaks usually need an access point cut for full drying access.
We'll document what we find and can coordinate with an HOA or the affected neighboring unit as needed — shared-structure leaks add a layer of coordination but the drying process itself is the same.
Sudden, accidental sources — a burst supply line above, for example — are typically covered; damage from a long-neglected roof leak may be treated differently, so documentation of when and how it happened matters.
A contained repair with drywall patching and repainting can often be done in a day or two once the area is fully dry and the source is confirmed fixed.
Yes — mold can establish inside a ceiling cavity before a stain becomes visible on the surface, which is part of why a musty smell alone is worth investigating.
Water spreading right now? Call first, read later.
Every hour standing water sits is an hour it soaks deeper. We answer 24/7.
Tell us what's happening
We'll call or text back quickly with next steps and, for active water events, an arrival window the same day.
Phone: (916) 634-0972
Email: help@elkgrovewaterrestoration.com
Availability: Live 24/7 — water doesn't wait for business hours